INVENTOR
Inventor is a three-dimensional design software that is used to create shapes and animations that can be put to use in a 3D printer and a CNC machine.
Here are steps to create the first widget of six that we had to create for class.
Step 1
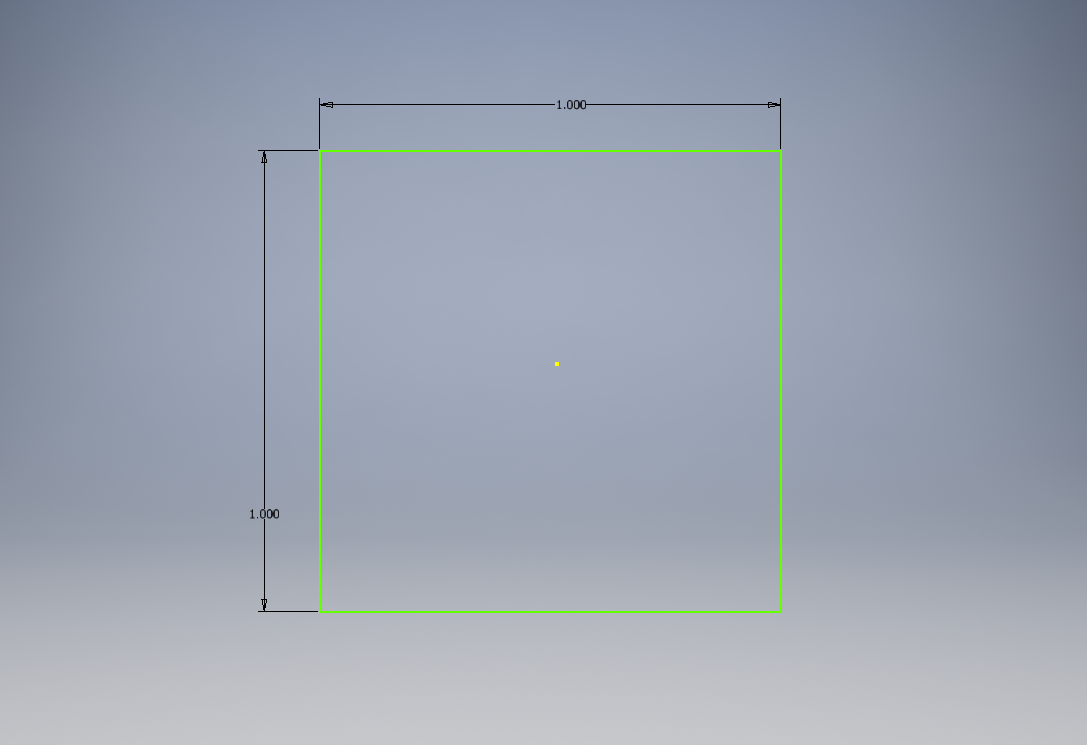
My first step was to sketch out a 1x1 square because that was the the outline of what the widget started out as before anything was taken out.
Step 2
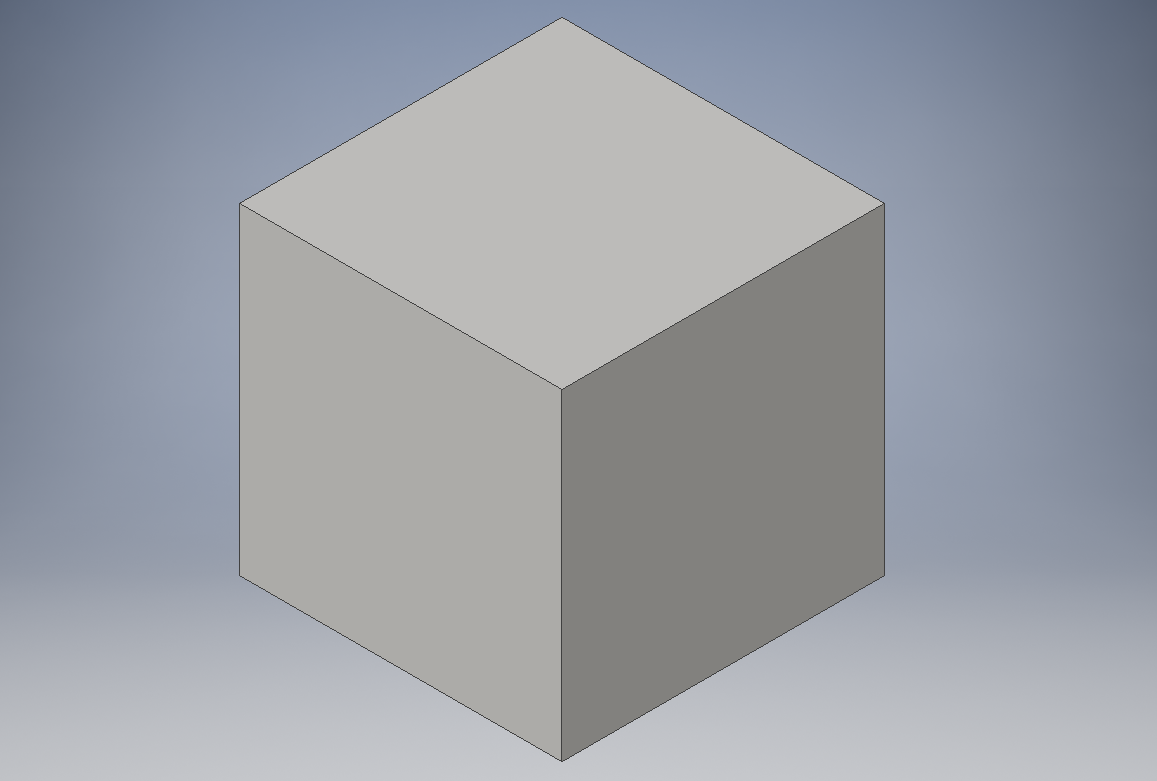
In step two, I extruded the sketch out an inch to make a 1x1x1 cube. This makes the big outline of the widget before things are subtracted from it.
Step 3

In step 3, I sketched on the top, how much I wanted to be subtracted. This was .5 of one side and none of the other side.
Step 4
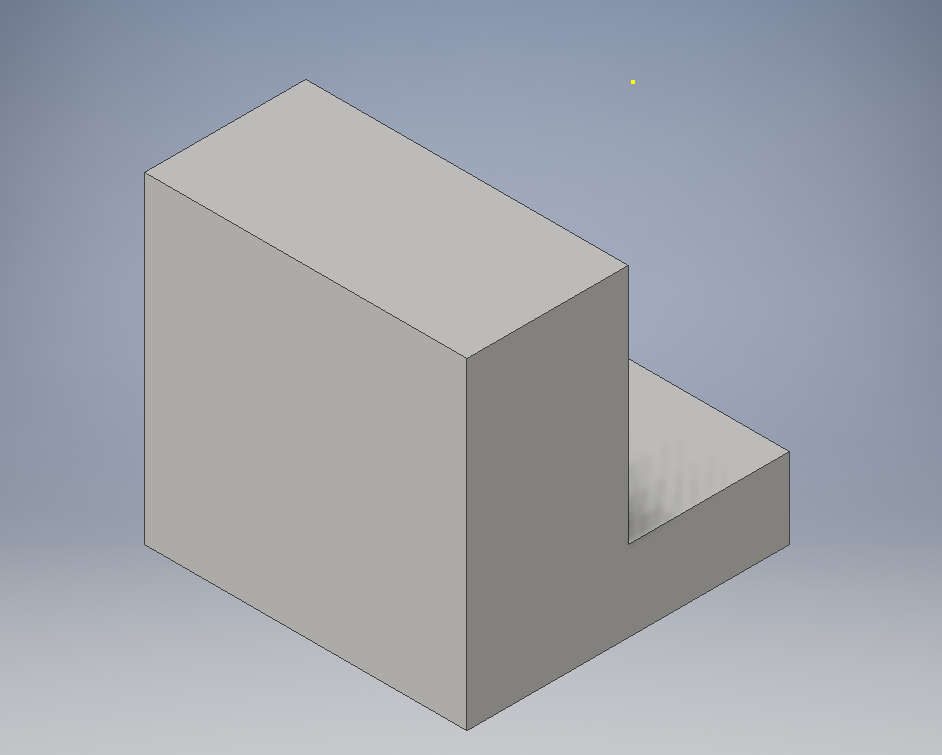
In step 4, I extruded the sketch down 0.75 in. to subtract from the cube. This is only half of what needs to be taken out.
Step 5
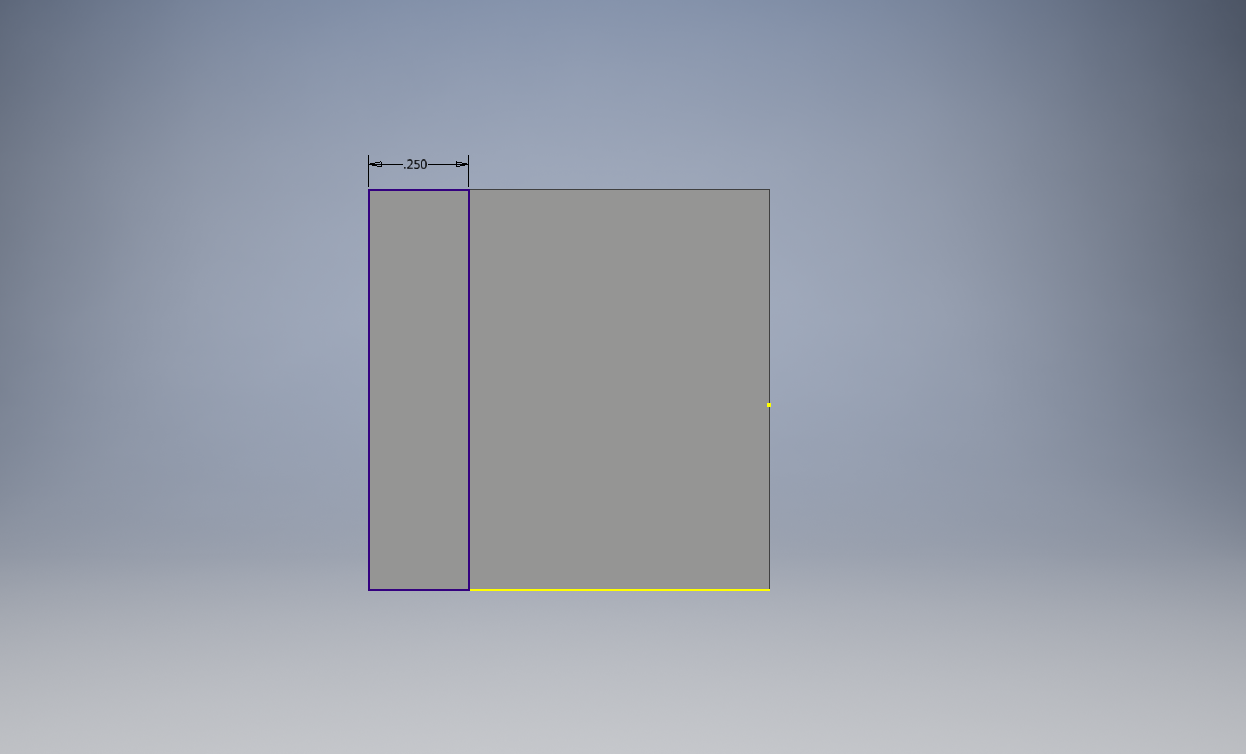
Here I sketched out the next thing to be extruded out of the cube. The dimensions are 0.25 in. x 1 in.
Step 6
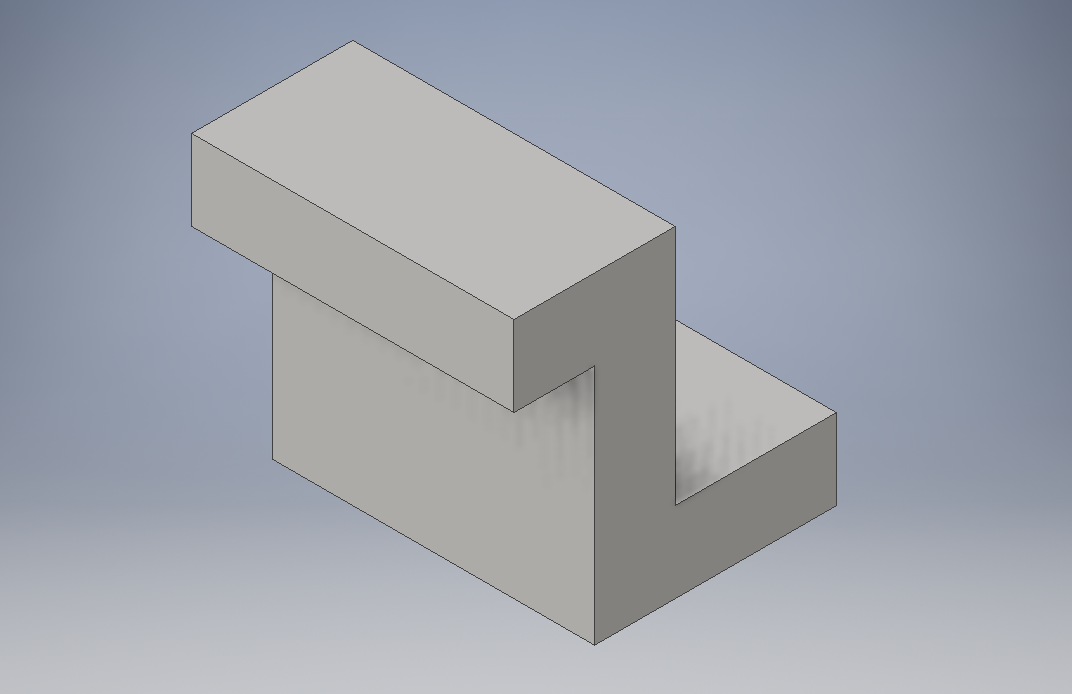
In this step, I extruded the last sketch up to take away 0.75 in. x 0.25 in. x 1 in. This is the last step to create this "Z" looking widget in Inventor.
Other Widgets That I Created
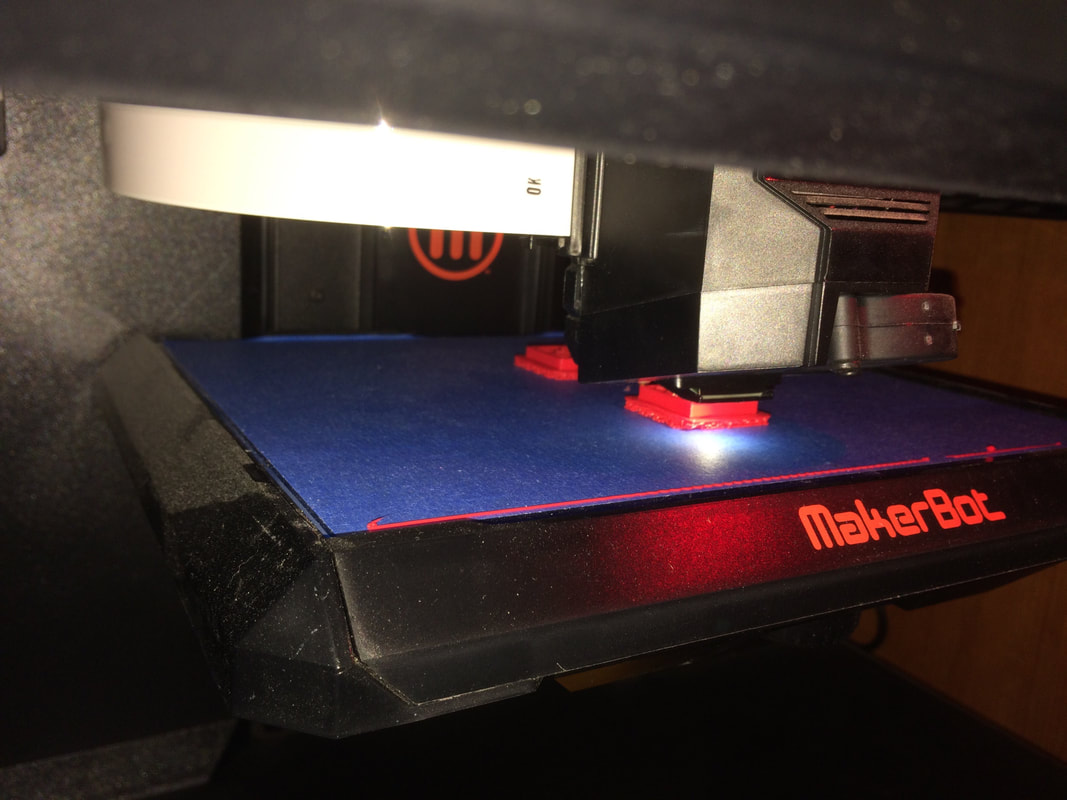
3D Print
This is a picture of my widget getting printed out next to a friends to save time.
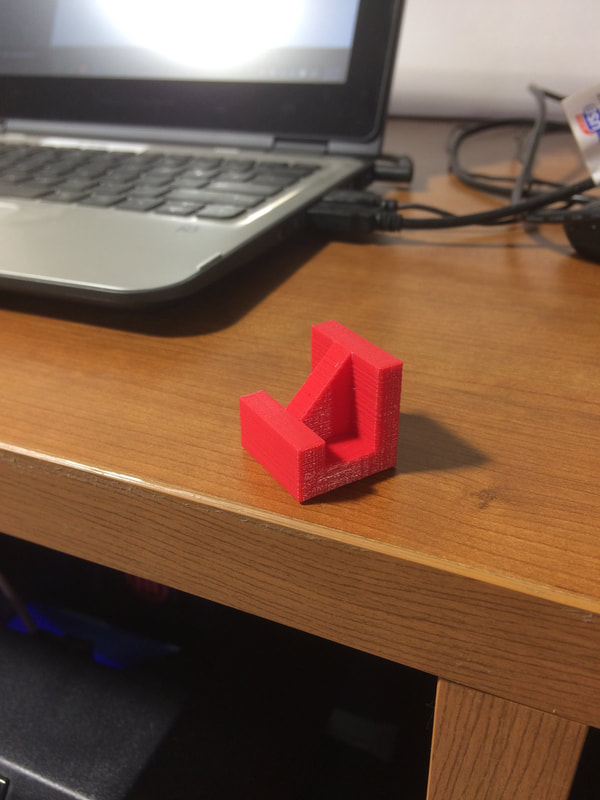
This is a picture of the final product.
I learned that Inventor is a hard program at first, but once you understand how to do the basics, it becomes easier. I learned that using the 3D printer is super easy because all you really have to do is open it up in MakerBot and put it in a flash drive. Plus, 3D printing is really cool and we will be able to create anything when the printers are more for domestic use.
